Digital technology has made our lives easier and more efficient. One such way is through the ability to convert audio files into text. This can be particularly useful when you need a written conversation, interview, or lecture record. Microsoft Word offers a simple and effective way to convert audio files into text.
This article will guide you through using Microsoft Word to turn your audio files into text, making it easy to create accurate transcripts of your audio recordings.
Step-by-Step Guide to Converting Audio to Text with Microsoft Word

- Preparing the Audio File for Conversion

Before the transcription process, preparing the audio file for conversion is essential. Ensure that the audio quality is clear and that there is minimal background noise. If the audio quality is poor, it may be necessary to use audio editing software to enhance the quality. It is also essential to ensure that the audio file is compatible with Microsoft Word.
- Setting up Microsoft Word for Transcription

Once the audio file is prepared, the next step is to set up Microsoft Word for transcription. This includes creating a new Word document and adjusting the settings for optimal transcriptions. Additionally, it may be helpful to seize the keyboard shortcuts and hotkeys for ease of use during transcription.
- Transcribing Audio to Text in Microsoft Word
With the audio file prepared and Microsoft Word set up for transcription, the next step is to start transcribing the audio to text. This involves listening to the audio file and typing out the spoken words in real time. Again, listening carefully and accurately transcribing the spoken words is essential to ensure an accurate final product. Some tips for successful transcription include typing quickly and accurately, using shortcut keys to save time, and taking breaks to avoid fatigue.
- Editing and Formatting the Transcribed Text
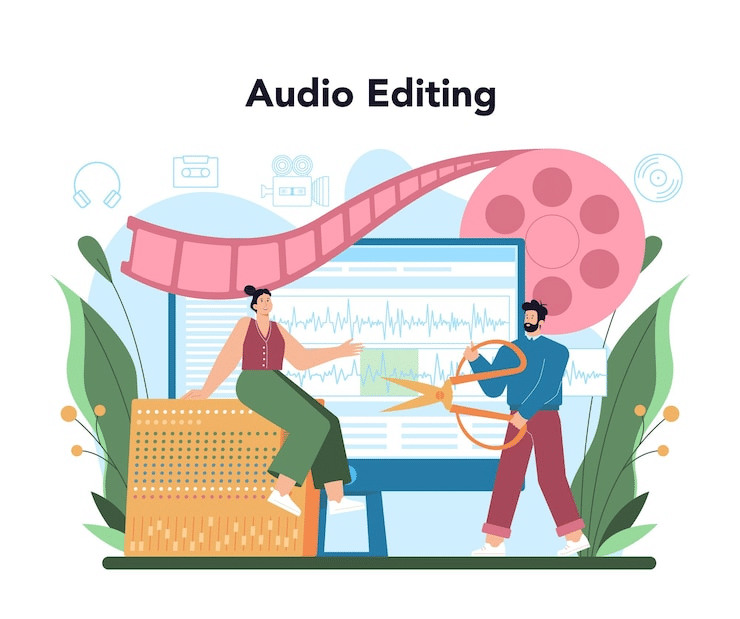
After the transcription process is complete, it is essential to edit and format the transcribed text to ensure clarity and readability. This may involve proofreading the text for errors, making corrections as needed, and adjusting the formatting to ensure consistency and clarity. This may include adjusting font size, line spacing, and other formatting options. Additionally, add punctuation marks or other symbols as needed to enhance the clarity of the text.
- Saving the Transcribed Text

After editing and formatting the transcribed text, it is essential to save the document for future use. This can be done by clicking the File tab, then selecting ‘Save As.’ From here, select a file name for the document, choose a location to save it to, and click ‘Save.’ The transcribed audio file will be saved in Microsoft Word format and can be accessed at any time by opening the saved file.
Best Practices for Audio-to-Text Conversion with Microsoft Word

Regarding audio-to-text conversion, Microsoft Word is an excellent choice for several reasons. It is user-friendly and highly customizable, and its powerful natural language processing capabilities allow for accurate and efficient text transcription. To ensure that you get the most out of your audio-to-text conversion project, here are some best practices you should consider:
Use High-Quality Audio

High-quality audio files are easier to transcribe because they are clearer and have fewer background noises. Avoid using audio files that are muffled, distorted, or contain a lot of background noise, as they can make it difficult to hear what is being said. If possible, use a high-quality microphone to record the audio.
Listen to the Audio before Starting

Listening to the entire audio file before starting to transcribe will give you a better understanding of the content, speakers, and any potential challenges you may face. This can help you anticipate difficult audio parts and prepare for them accordingly.
Use Headphones

Using headphones can help you hear the audio more clearly and reduce the chance of background noise interfering with your transcription. In addition, it can make it easier to distinguish between speakers and identify who is speaking.
Use a Foot Pedal

Foot pedals are especially useful if you’re transcribing long pieces of audio since it allows you to stop and start your transcription with just the press of your foot. This also lets you go back and rewind sections to have more accurate transcriptions.
Use Shortcut Keys

Microsoft Word has several built-in shortcut keys that save you time while transcribing. For example, the F4 key can be used to play and pause the audio, and the Ctrl + Shift + M key can be used to insert a timestamp. Familiarizing yourself with these shortcut keys can help you transcribe more efficiently.
Break the Audio into Sections
Breaking the audio file into smaller sections can make the transcription process more manageable. This can help you stay focused and avoid becoming overwhelmed. In addition, this can help you identify difficult parts of the audio and prioritize them accordingly.
Proofread and Edit

Proofreading and editing the transcript as you go along can help you catch errors and mistakes early on. This can reduce the editing needed at the end of the transcription process. Furthermore, this can help you maintain accuracy and improve the overall quality of the transcript.
Use Speech Recognition Software

Microsoft Word has built-in speech recognition software that can be used to transcribe audio files. This software can automatically convert the audio to text, saving you time and increasing your accuracy. However, it is important to note that speech recognition software is not sometimes 100% accurate and may require some editing and proofreading.
Practice Typing Skills

Improving your typing skills can increase your transcription speed and accuracy. Consider taking typing courses or using typing software to practice your typing skills. The faster and more accurately you can type, the faster you can transcribe audio files.
Use Transcription Software
Dedicated transcription software can be used to automate the transcribing of audio files. Several transcription software programs are available for audio-to-text conversion, including Express Scribe and InqScribe. They can record directly from any sound source and automatically insert punctuation marks and timestamps. Additionally, it makes it easy to quickly search for words or phrases within the recording and jump ahead without having to rewind manually.
Applications and Uses of Audio-to-Text Conversion with Microsoft Word
Academic Research

Transcribing interviews or focus groups is a common practice in qualitative research. It allows researchers to analyze and interpret data and provides a verbatim record of what was said. In addition, it can be used to identify themes, patterns, and important points that may be missed during the initial interview.
Legal Proceedings

Transcription is important for creating accurate records of legal proceedings. Court hearings, depositions, and witness statements can be transcribed to create official records that can be referred to later on. Transcription can also be used to create summaries of legal documents or to review audio evidence.
Business Meetings

Transcribing business meetings can help create accurate records of discussions and decisions made during meetings. Transcripts can be used to review action items, assign tasks, and ensure everyone is on the same page. Transcription can also be used to create meeting minutes or summaries for those unable to attend the meeting.
Content Creation

Transcribing audio files can be helpful tools for content creators, such as podcasters or video creators. Transcripts can be used to create closed captions, making content more accessible to individuals with hearing impairments or language barriers. Transcripts can also be used for SEO purposes, as search engines can index the text and make it easier for people to find the content.
Accessibility

Transcribing audio files can make content more accessible to individuals with hearing impairments or language barriers. Transcripts can be used to create closed captions or subtitles for videos, improving accessibility for a wider audience. Transcripts can also be used to provide written records of audio content, which can be helpful for individuals who prefer to read instead of listen.
Language Learning

Transcribing audio files can be helpful for language learners who want to improve their listening and reading skills. By transcribing audio files, learners can practice their listening comprehension and learn new vocabulary. Transcripts can also be used to review what was said and identify improvement areas.
Personal Use

Transcribing personal audio files, such as recorded conversations or family interviews, can be a helpful way to preserve memories or create family histories. Transcripts can be used to create written records of important conversations or stories, which can be shared with family members or future generations. Transcription can also be used to identify key themes or memories that may have been forgotten over time.
Ethical Considerations for Audio-To-Text Transcription
- Obtain informed consent from the speaker before transcribing their audio content. Explain the purpose of the transcription and how the text will be used, and allow them to decline or request modifications.
- Protect the privacy and confidentiality of the speaker by not sharing their personal information or identifying details that they may have disclosed in the audio content.
- Obtain permission before using any copyrighted material and properly attribute any quotes or references used in the transcription.
- Avoid perpetuating stereotypes or biases, and use inclusive and respectful language.
- Take steps to ensure the accuracy and completeness of the transcription. Double-check any difficult parts, consult with the speaker if necessary, and avoid making assumptions or filling in gaps based on your biases or assumptions.
- Be transparent about your transcription process and any limitations or uncertainties involved. Clearly state any disclaimers or caveats, and provide the speaker with a copy of the final transcription for their review and feedback.
FAQs

What is the process of turning audio files into text using Microsoft Word?
Turning audio files into text using Microsoft Word involves uploading the audio file to Word, which then transcribes the speech into text. You can edit the text as needed and save it as a transcript.
Can Microsoft Word transcribe speech from audio recordings?
Yes, Microsoft Word has a feature that can transcribe speech from audio recordings. This feature is available in Word 365 and Word for the web.
What types of audio or video files can be used for transcription in Microsoft Word?
Microsoft Word can transcribe speech from most audio or video files, including MP3, WAV, M4A, MP4, and MOV files.
How can I upload audio files for transcription in Microsoft Word?
To upload an audio file for transcription in Microsoft Word, you can go to the “Insert” tab, select “Audio,” and then choose “Audio on my PC.” From there, you can select the audio file you want to transcribe.
Can I manually transcribe the audio in Microsoft Word?
Yes, it is possible to manually transcribe the audio in Microsoft Word. You can use the speech recognition feature to dictate the text, or you can transcribe the speech manually by typing the text as you listen to the audio.
How do I generate transcripts from audio files in Microsoft Word?
To generate transcripts from audio files in Microsoft Word, you can use the speech recognition feature or transcribe the speech manually. Once the transcription is complete, you can save the text as a transcript.To generate transcripts from audio files in Microsoft Word, you can use the speech recognition feature or transcribe the speech manually. Once the transcription is complete, you can save the text as a transcript.
What are the basic steps for transcribing audio in Microsoft Word?
The basic steps for transcribing audio in Microsoft Word are to upload the audio file, transcribe the speech using the speech recognition feature or manually, edit the text as needed, and save the text as a text transcript.
What are some popular audio formats for transcription in Microsoft Word?
Some popular audio formats for transcription in Microsoft Word include MP3, WAV, M4A, MP4, and MOV files.
Conclusion

Turning audio files into text is a manageable task with Microsoft Word. By learning how to use the features and tools within Microsoft Word, you can quickly and easily put all of your audio files into textual form. This will save you time, enable you to organize your work better and make it more accessible to others. Test it out now!


